
Working with a worksheet
Even though it is easy to use the formulas in an Excel worksheet to compute almost any kind of operation with the data, there are still some features to make our life even easier. For example, let us imagine this shopping list:
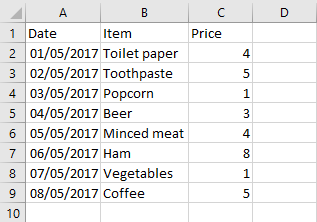
How can I order it by price? How can I reverse the date order? How could I calculate the total without having to write formulas? Easily: by creating a table.
Activity 9: Indeed, how can we do the first two things without creating a table? Hint: by using a filter.
To create a table we need to select the cells where our table is and click on Insert -> Table.
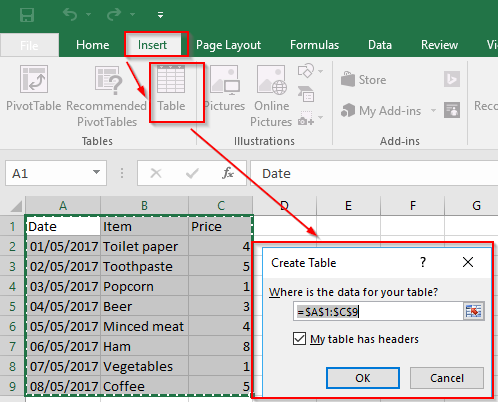
FIGURE 9: CREATING A TABLE FOR OUR DATA
After it, the table will change its style and the headers (if we had and if we chose “my table has headers”) will have the option to arrange or filter the data of its column:
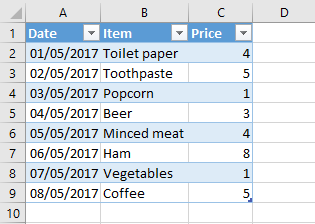
FIGURE 10: A TABLE IN EXCEL
In addition, a new menu called Table Tools will appear when one of the cells of the table is selected:

FIGURE 11: TABLE TOOLS
Under this menu, if we check Total Row under Table Style Options it will automatically sum the values of the last column:
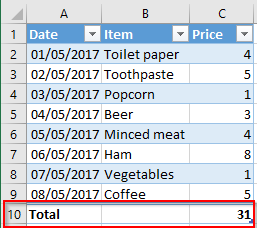
FIGURE 12: TOTAL ROW IN A TABLE
Making Templates out of a PowerPoint
Activity 10: Make them understand the problem: ask a volunteer to create a PowerPoint presentation, with a certain design where a logo is present in all of the slides. After creating several slides, ask him/her to change that logo from all of the slides, and ask them if they know how that could have been prevented.
Similar to Microsoft Word, PowerPoint allows creating templates for the slides, so that every time you create a new slide it appears with a style we have defined. In addition, the objects (images, texts, etc.) that we insert into the slide will be blocked, so they will not be moved or removed accidentally while creating our content.
Let us put us into situation: imagine we have to create a presentation. By default, it will have a cover slide, several content slides and a closing slide. For the content slides, we will have two different types: one with the images on the left, and one with the images on the right. So, how can we automate these slides without having to use the rudimentary procedure of duplicating slides and removing the content of the previous one? By using the Slide Master.
The Slide Master allows the author to modify the layouts, the slides that will serve as templates for the real slides we will use in our presentation, with their own style and content blocks. Once edited (or created) a layout, we can apply it to the slides we are using or create new ones using it.
To access the Slide Master, we need to go to View -> Slide Master.
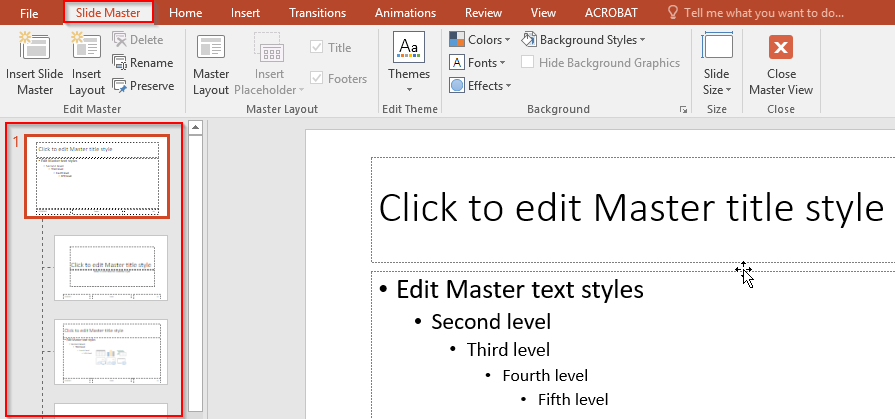
FIGURE 13: SLIDE MASTER, WITH THE LAYOUTS ON THE LEFT SIDEBAR
On the left sidebar we see the master slides and the layouts. If we over the mouse over any of them, it will show the name and how many slides are using this layout. On the Insert menu, you will be able to add images and other objects as you would normally would. However, one of the extra things you can do here is to add a placeholder. A placeholder is a box with dotted borders that will allow the author to add specific content in the layout. For example, imagine we are creating a presentation template for a conference where multiple speakers will participate, and each of them will use the same template. We can add a placeholder in the cover slide for the speaker to add their name and organisation in a position we decide (like on a side, or in a corner).
Once we have finished using the Slide Master we will click on Slide Master -> Close Master View. After modifying a layout, it is possible that we need to reapply the layout to some of the slides. For this, right click on the slide -> Layout -> choose the layout.
Activity 11: Let us test the imagination of the participants to find solutions. Put the attached presentation in the teacher’s computer and challenge them to modify the colours of the bars. Hint: the Selection Pane.